
Goodbye Garage
Posted: March 13, 2017 Filed under: My Design, Our House | Tags: before and after, bonus room, bunk beds, creative space, design, garage, Home, home renovation, Interior design, interiors, progress, renovation, shiplap, transformation Leave a commentToday, I’m sharing our latest project on our house. The old garage is getting transformed into a “multi-functional creative space”…at least that’s what I like to call it. 🙂
When we bought our house the garage was not a useable garage anymore. The previous owner had closed it off, leaving paneling on the exterior of the house.
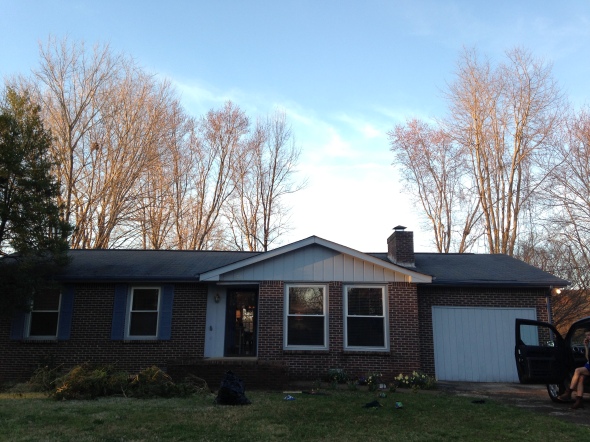
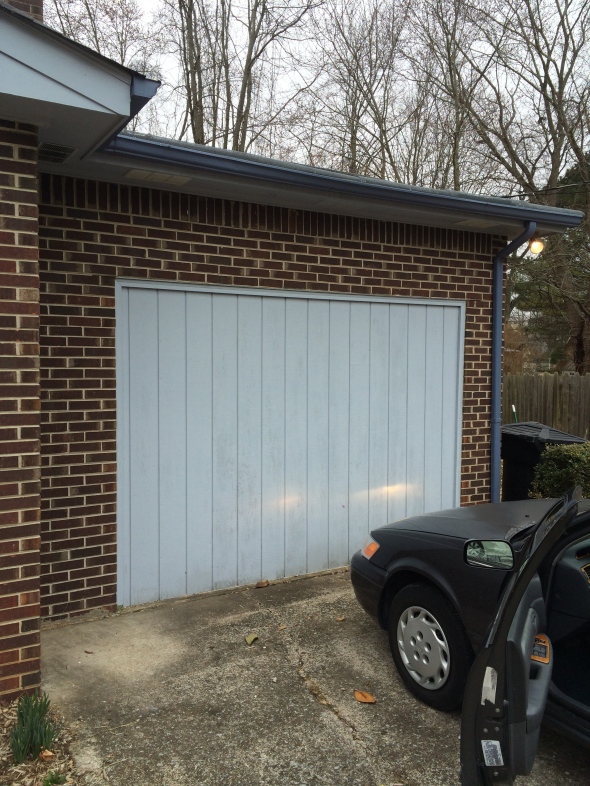
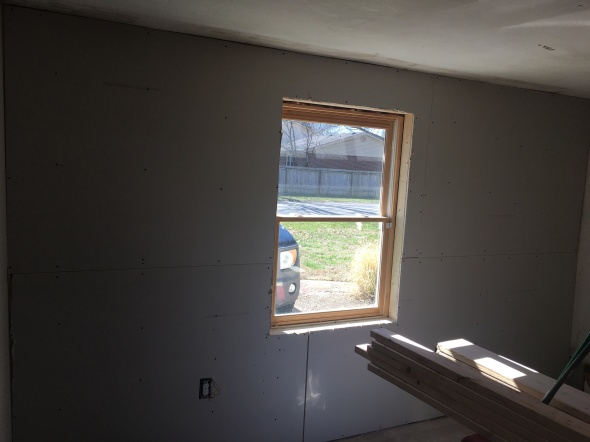
No bueno. Ha! We knew we were going to be getting the brick painted and wanted to remove the paneling and add a window so that once the house was painted, it would look like it was always part of the house and not an old garage.
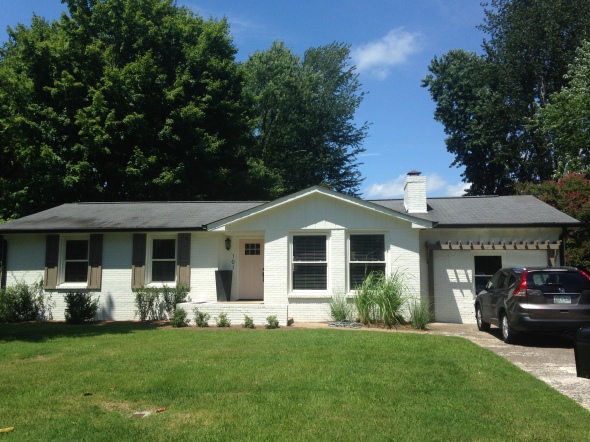
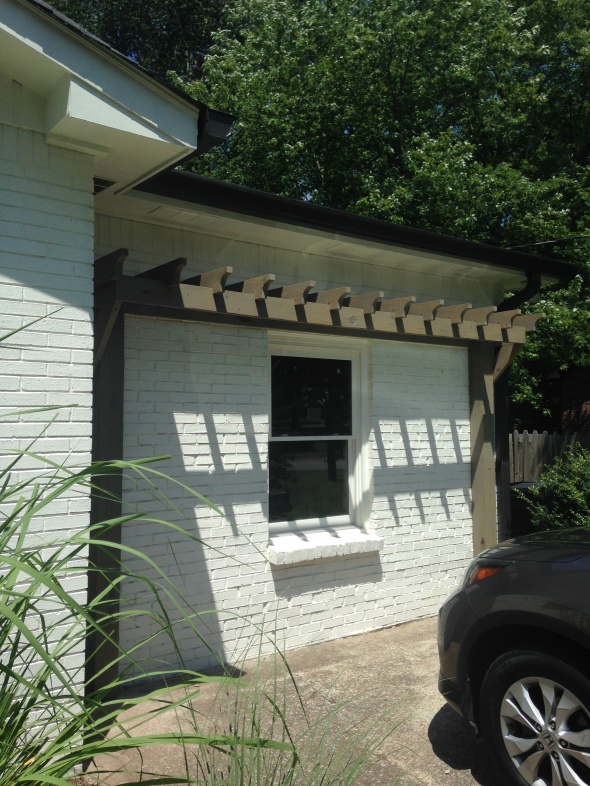
Here’s how it looks now.
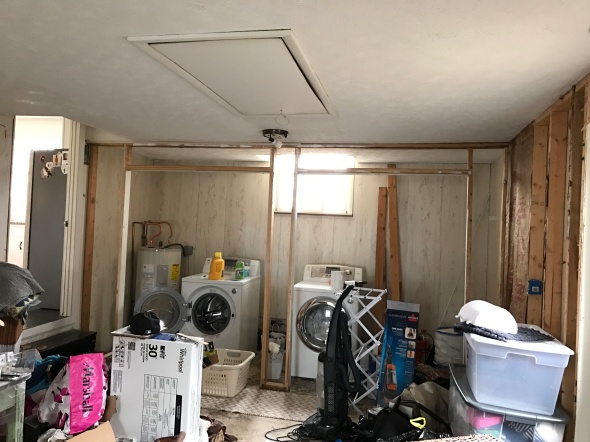
The exterior was complete, but the inside of that previous garage was our laundry room and also straight up junk room.
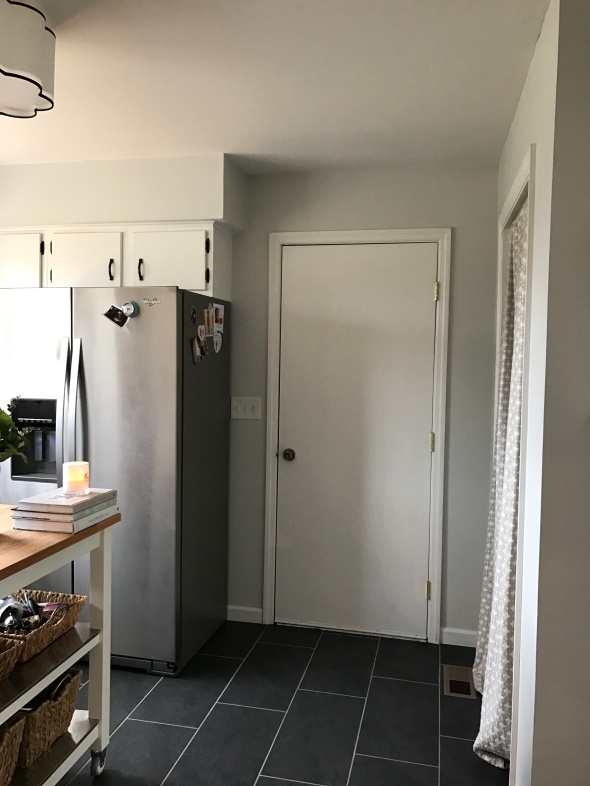
This is the door inside the house that leads to the garage. We have plans to do a cool antique door here.
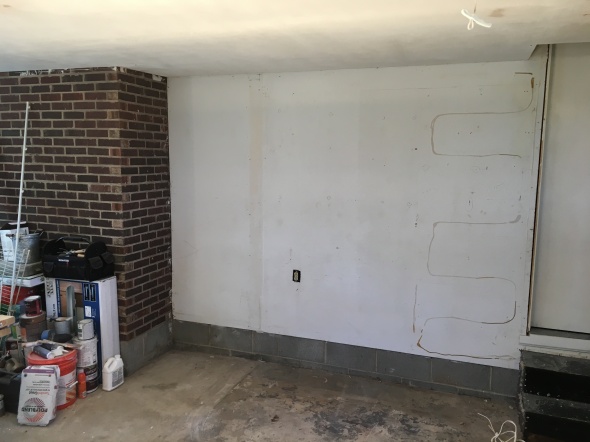
Now entering the junk pit…haha! I cringed every time I opened the door to do laundry.
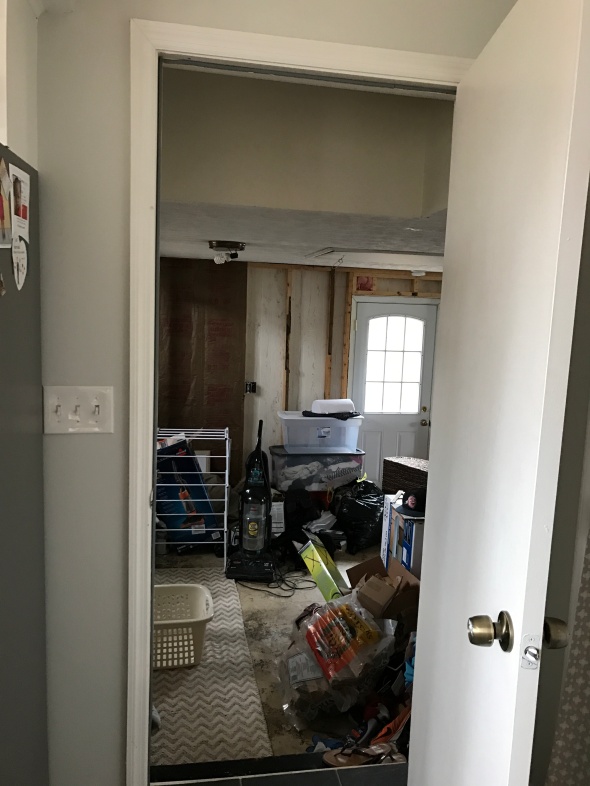
This is how it looked for the 2 years that we’ve owned the house. It was the “close the door quick, out of sight out of mind” sort of thing.

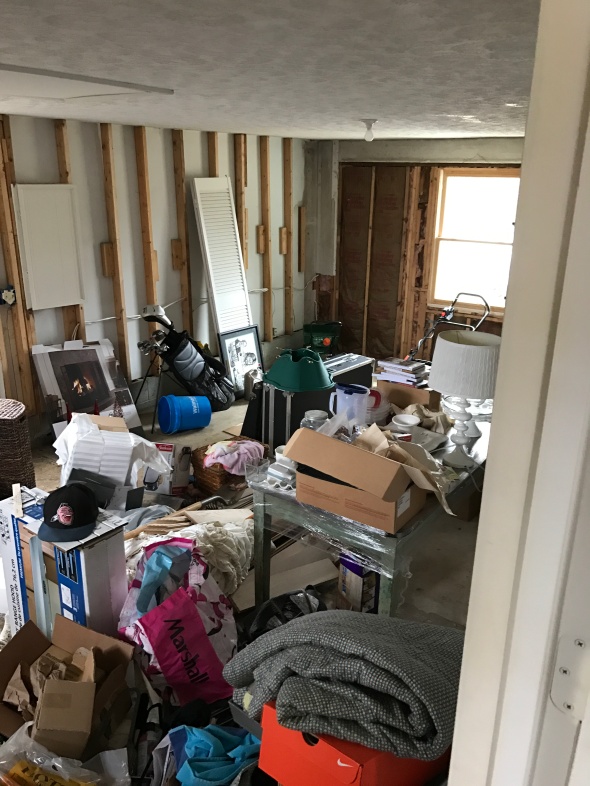
I had been dreaming of the day when we could get all of the crap cleaned out and turn this old garage into a useable space. Well, with our baby on the way and needing to free up a bedroom for the soon to be nursery, Stephen’s music room needed a new home, so now was the time to start on this project. Woohoo!! Thanks baby Carswell 🙂
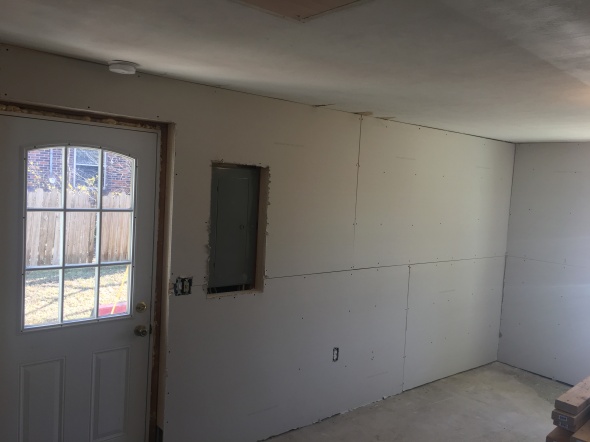
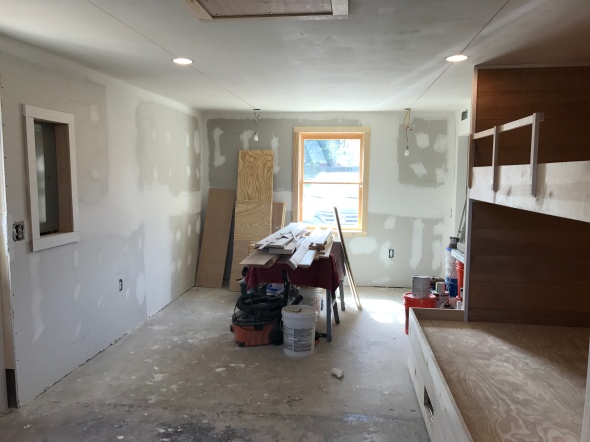
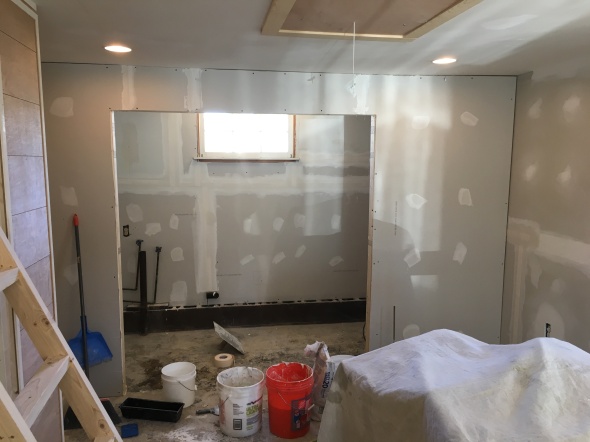
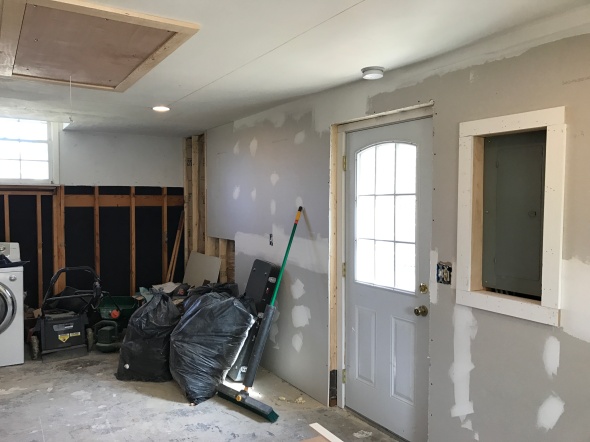
We hired someone to do the majority of the work, but the first step was cleaning out all of the junk that accumulated over the last 2 years. Once it was cleaned out, the old paneling was ripped out, the ceilings were sanded and new studs, insulation, electrical & drywall were added.
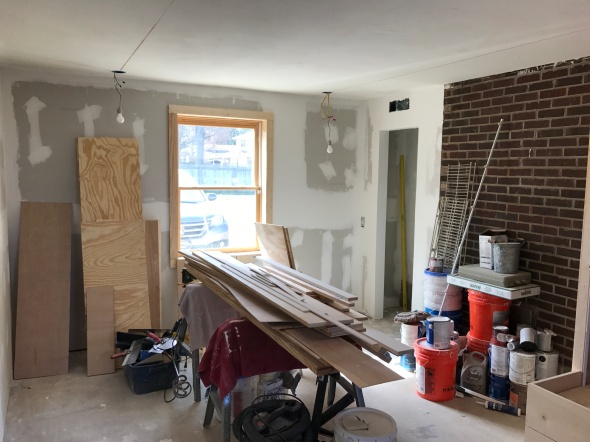
Ahhhh, finally starting to feel like a room!
The wall to the right of the brick is where I knew I wanted some sort of custom built in bed. I threw around the idea of a murphy bed, but ended up going with built in bunk beds.
This is the area for the future bunk beds.
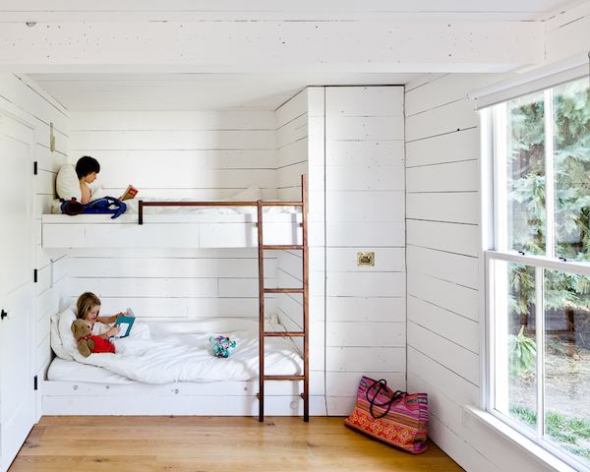
I had a few bunk bed looks I really loved, but ended up landing on this photo for my main inspiration.
I love the simple & clean design, as well as the built in storage of these bunk beds.
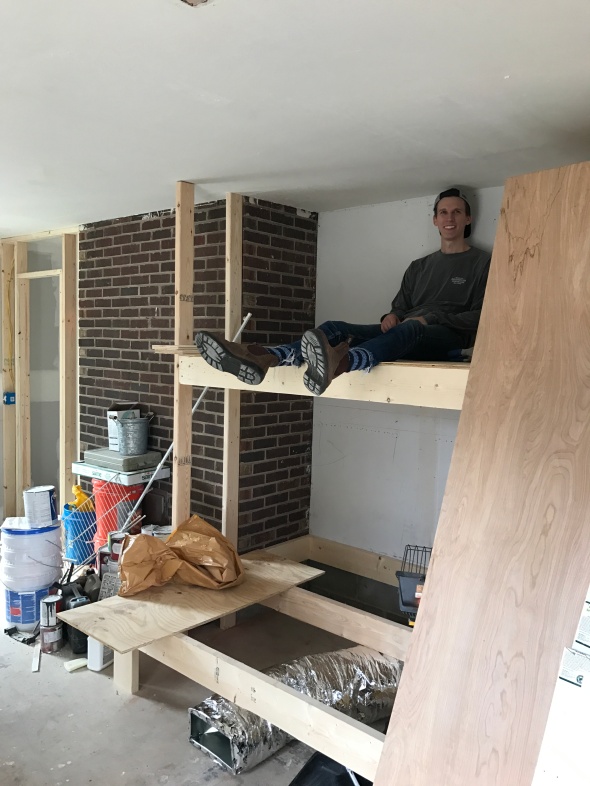
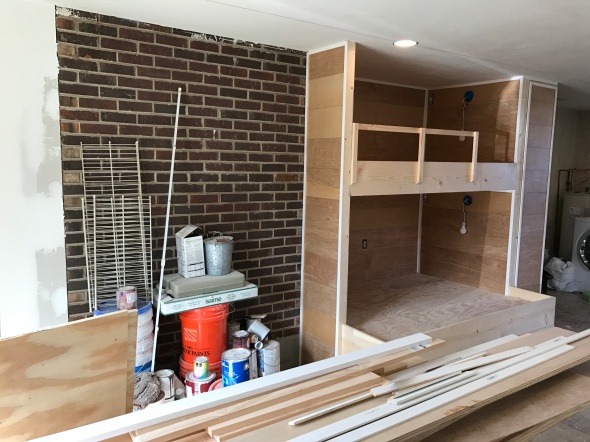
Bunk bed progress:
We decided to do a twin bed for the top bunk and a full bed for the bottom bunk for extra sleeping space.
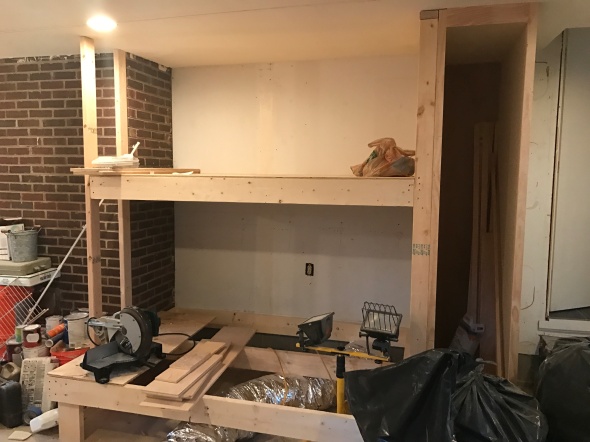
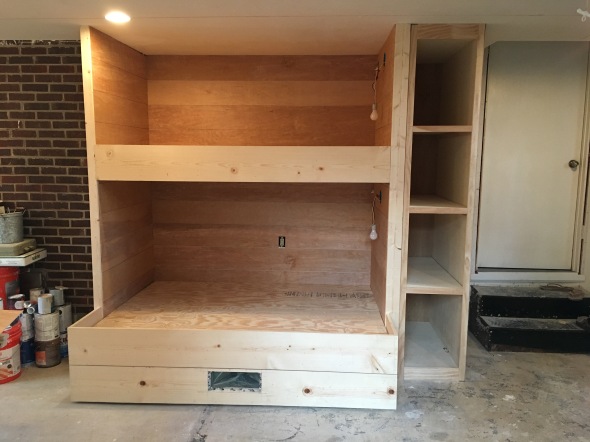
Stephen testing out the bunks. We also added a closet to the left of the brick for Stephen’s music gear.
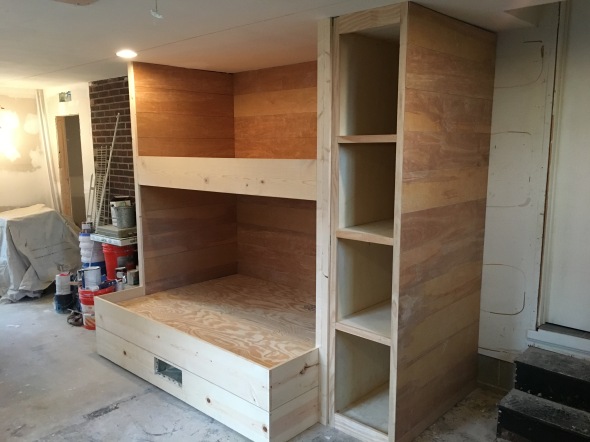
Looking more and more like bunk beds!! Yay! Can’t wait for these to get painted.
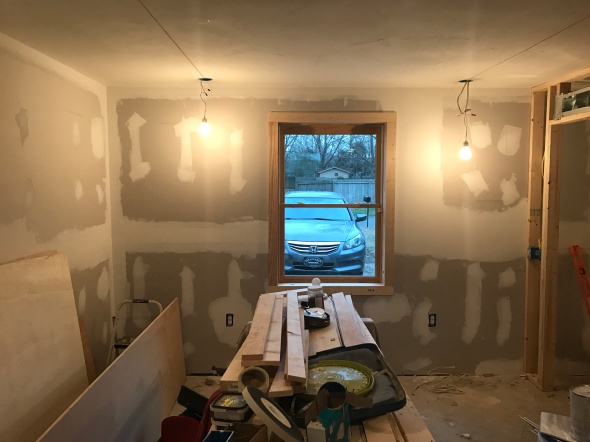
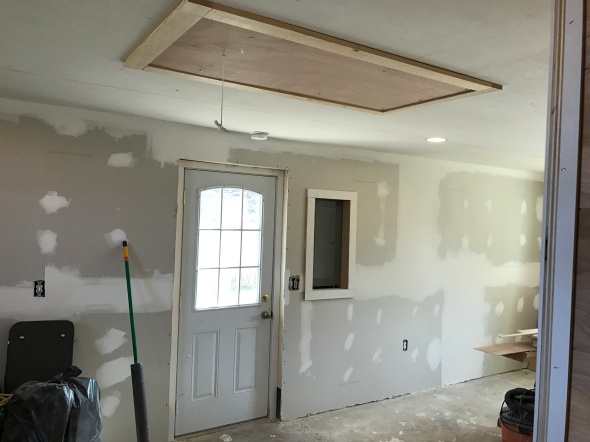
For the wall where we added the window, I knew I wanted to do floating desks on either side of the window with pendants above each desk. The desks won’t be installed until after paint, but here is the window trimmed out and added lighting for the pendant fixtures.
Here’s more of a room shot with the added railing to the bunks.
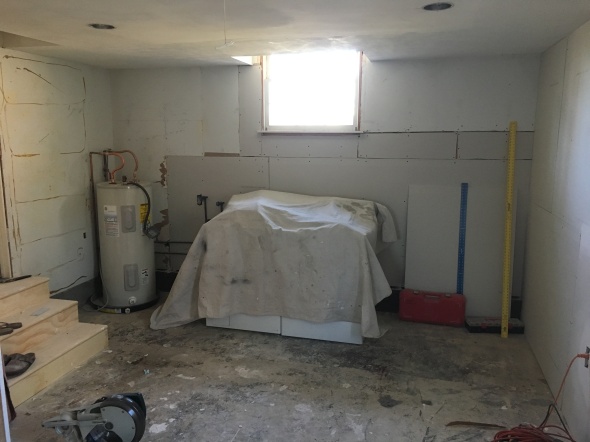
The opposite side of the room is where the washer/dryer is set up. Now, I REALLY wanted to add a full bath, but the plumbing cost was insane so we had to nix that idea pretty quickly :(. Instead, we just framed out a laundry/storage room.
How it looked the last 2 years.
We had that old framing knocked down, centered the washer/dryer under the window and added new insulation and drywall. We also had new stairs built leading back into the kitchen.
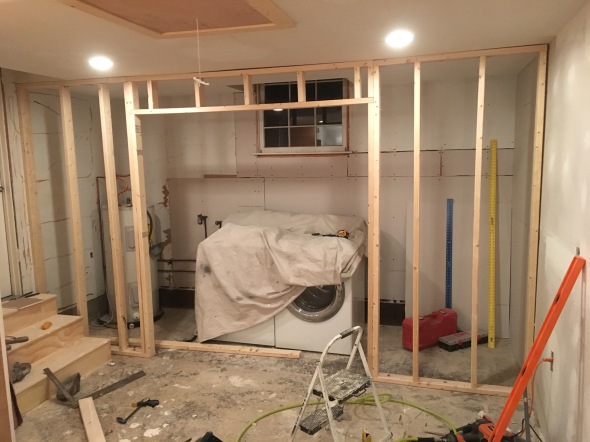
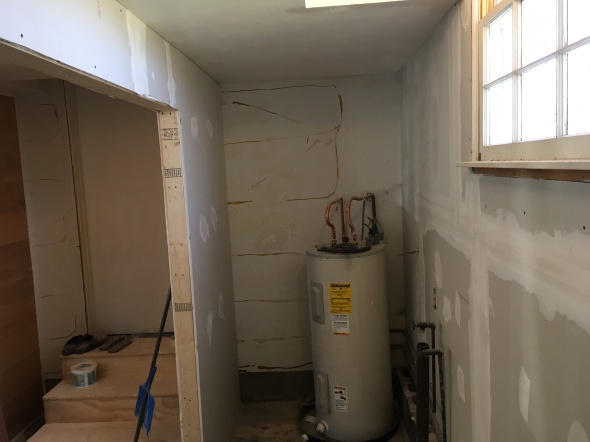
Inside of the laundry/storage room. We plan to add some shelving on this wall to better utilize the space.

Now the water heater is out of sight!! Yay!
A few more angles.
Can’t wait to continue to share the progress! It has come a long way, and still has a ways to go, but I am super excited about the progress so far.
Thanks for stopping by!
xoxo,
O
