
House Tour-Stephanie-Guest Bedroom
Posted: February 26, 2016 Filed under: Stores/Places to go Leave a commentWhen my sister in law, Stephanie, moved to Nashville a year and a half ago she had a new house and a blank canvas. She pulled inspiration photos, I pulled inspiration photos and the shopping/designing began! It was a lot of fun bringing a space to life and capturing her personality in the design. This is an all girls house! No boys allowed 😉
The wish list for this bedroom was: white bedding, abstract art, black iron bed.
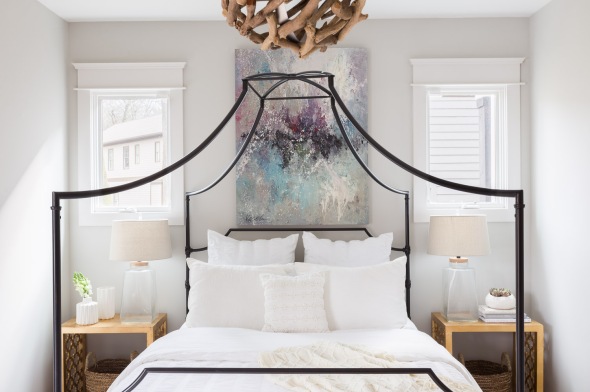
This is the finished product. Clean and crisp.
All of the photos were taken by the talented Alyssa Rosenheck.
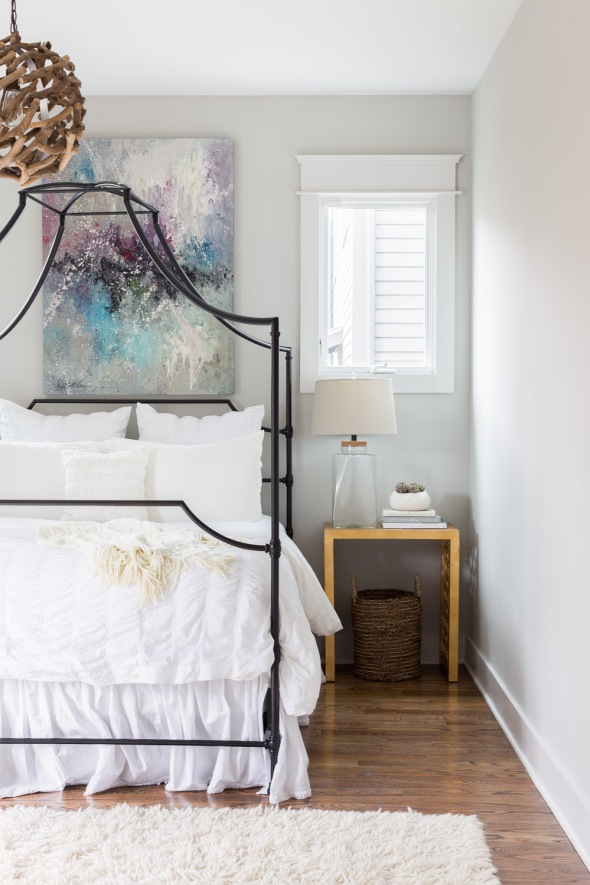
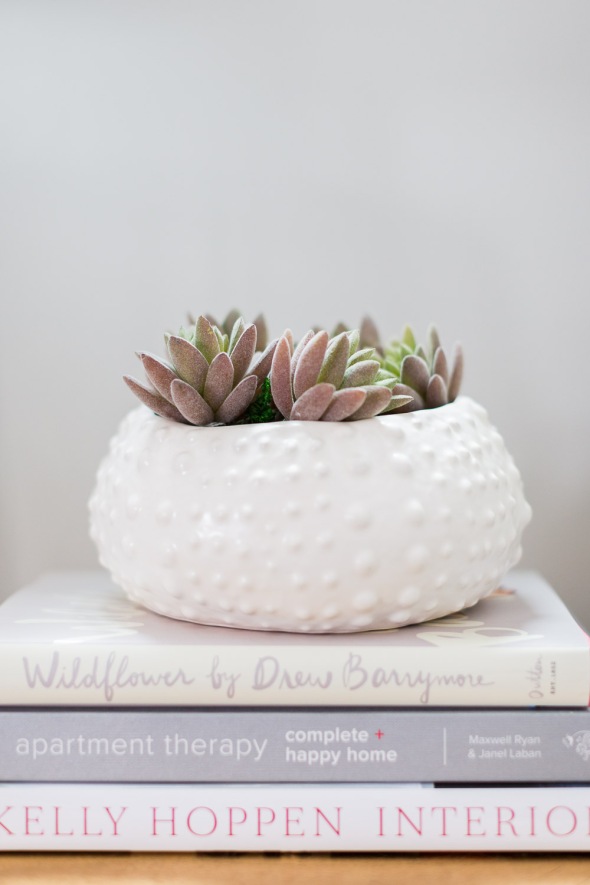
Detailed shots of the nightstands

One more full room shot
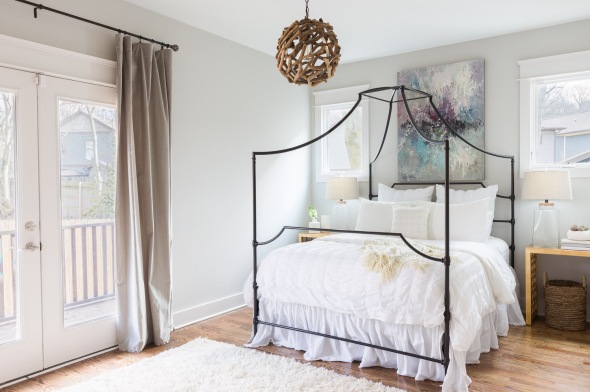
I love the contrast of the white bedding, black iron bed, colorful art and driftwood light!
Stay tuned for more photos of Stephanie’s house.
xoxo,
O
The Kitchen is Open
Posted: February 1, 2016 Filed under: My Design, Our House | Tags: before and after, design reno, Home, House Tour Video, interior decorating, Interior design, open concept, slate flooring, Subway Tile, white subway tile 1 CommentFrom the first day we saw our house, I had big dreams for our kitchen. There was only one wall standing between me and an open concept floor plan. It almost took a year of living in the house, but in November while we were on West Coast tour we were FINALLY able to get that wall down and start updating our kitchen. Excited was an understatement!
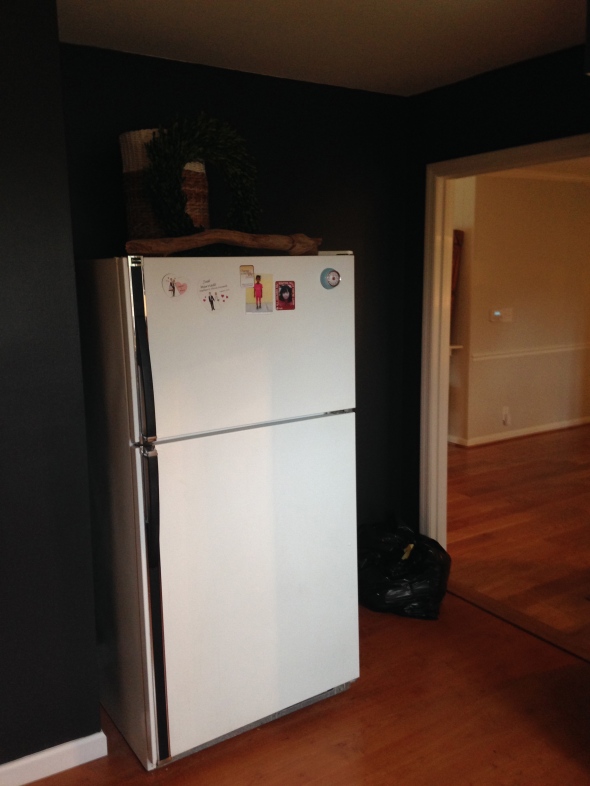
These were the last photos I took before transformation began:
This is the wall that kept me from an open concept for almost a year. Its days were numbered from the moment we bought the house 🙂
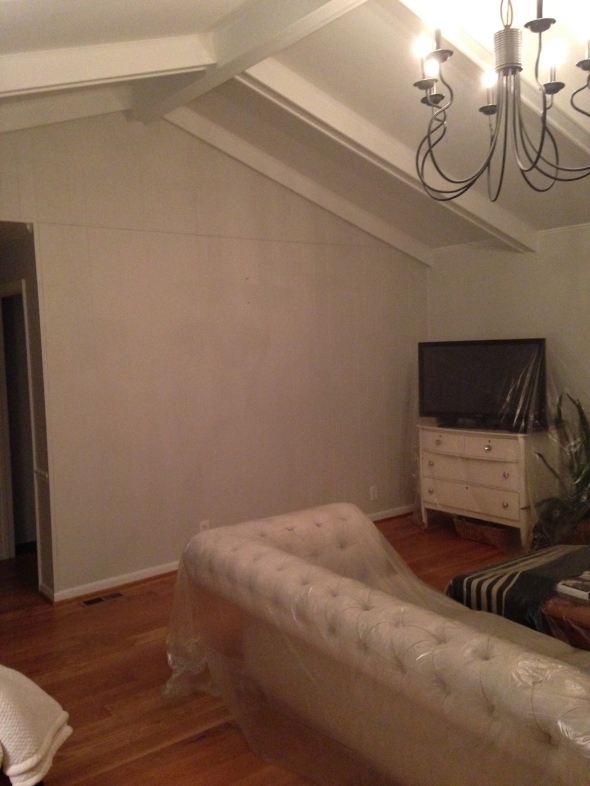
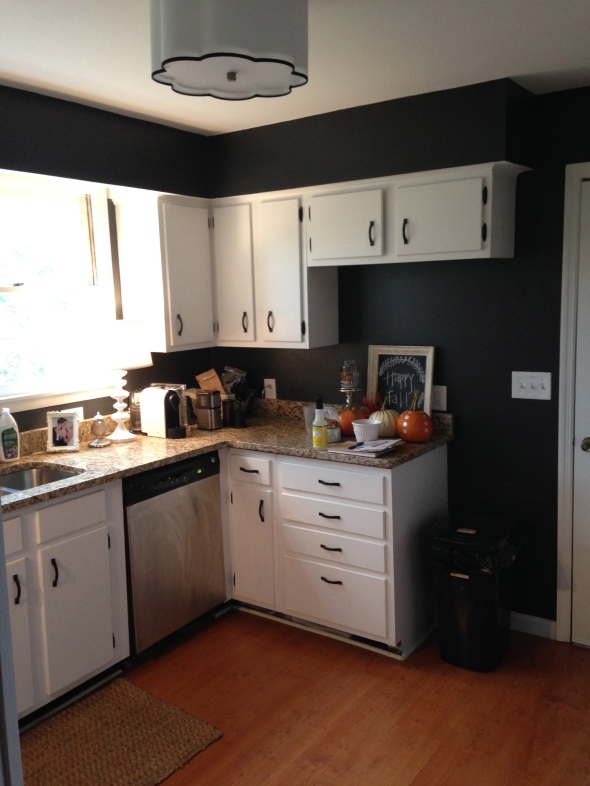
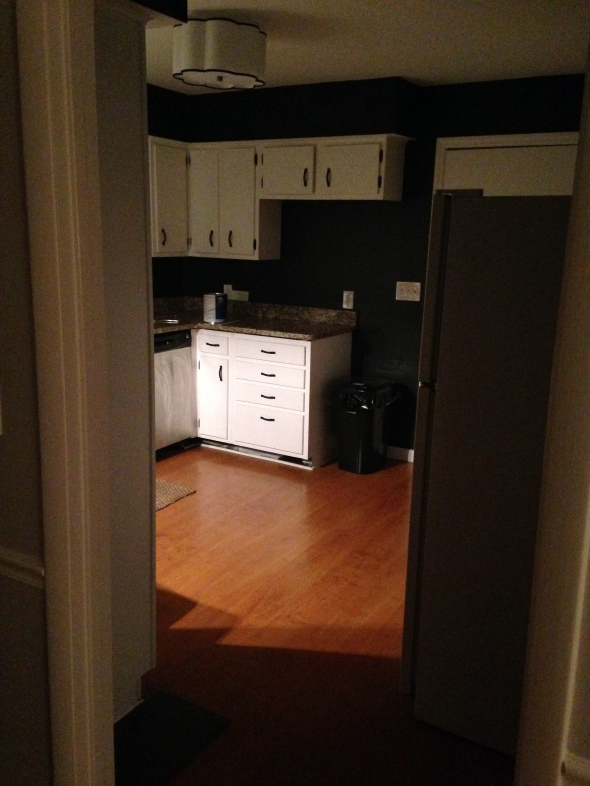
Entry into the kitchen. The only thing we had done at this point was get a new light fixture and paint the walls. It was very closed off from the rest of the house and not much fun to be in.

Same view, but daylight. The only redeeming factor are the big windows above the sink!
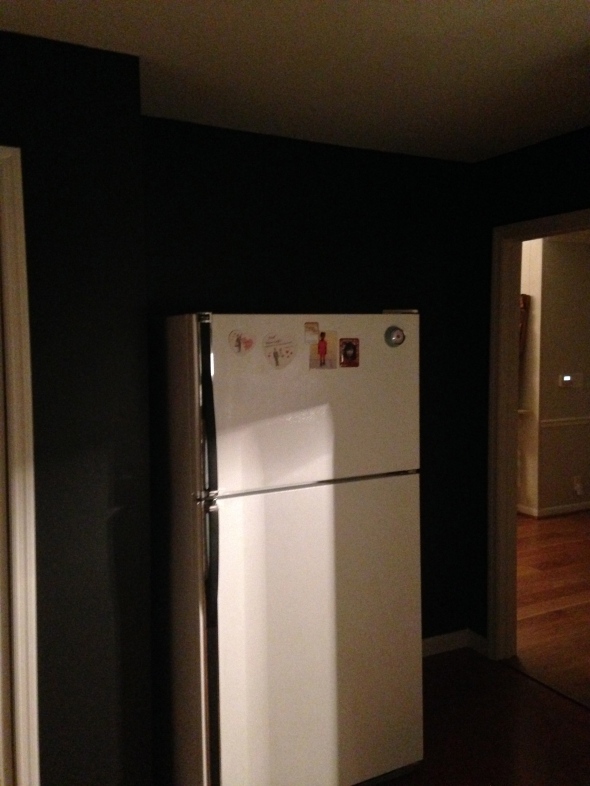
This is the wall from the other side.
Phase 1 of kitchen updating included:
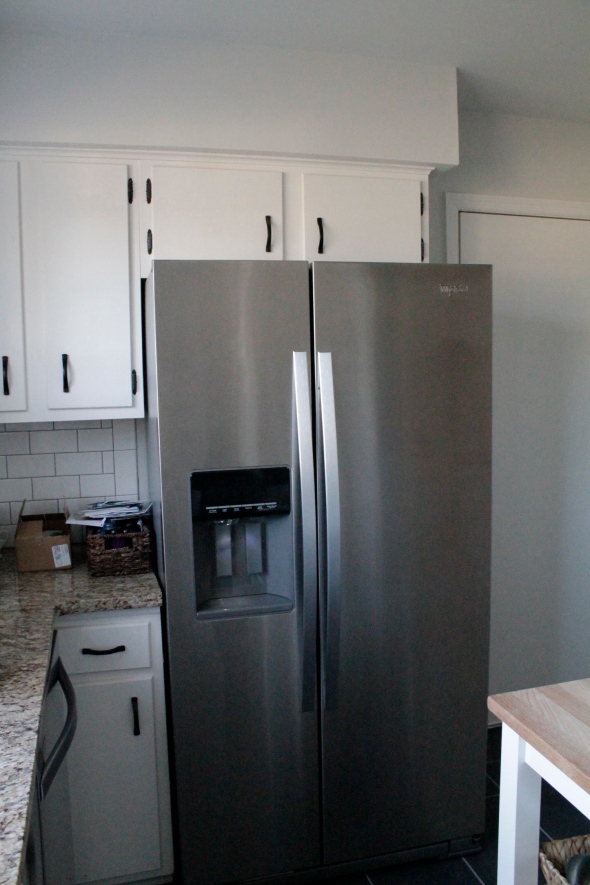
-remove wall (which is where the refrigerator was before which meant we had to find a new spot for it, so we decided to cut the cabinet and countertop off and put the fridge where it looked like it always belonged)
-new flooring
-subway tile backsplash
-new appliances
We would love to get new cabinets and countertops, but that will be in the future.
All of the work was being done while we were out of town so our contractor sent us photos of the progress.
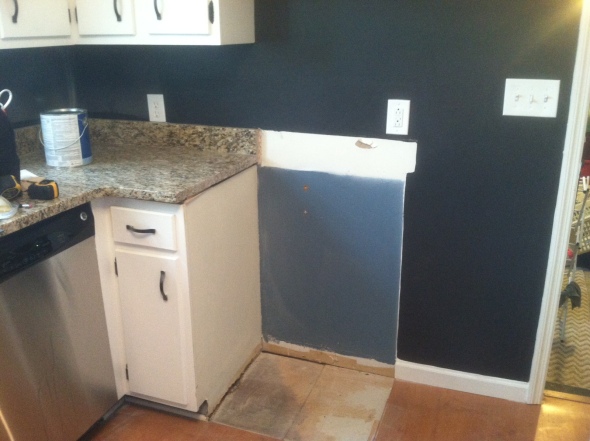
First step, cut countertop and cabinet where the fridge will move to:
Believe it or not, this small amount of progress got me super excited for the new kitchen layout!!
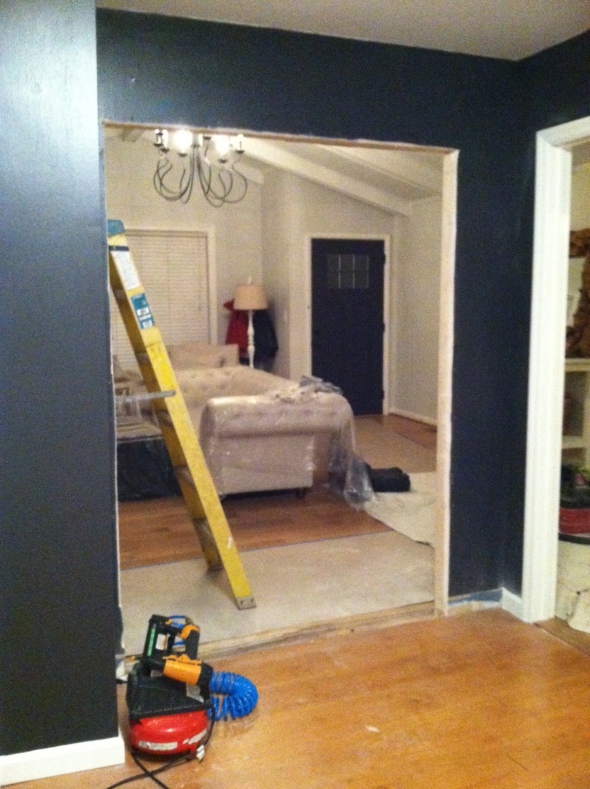
Next step, remove the wall and make an opening.
When I got this picture I literally screamed because I was beyond excited to finally have an open concept!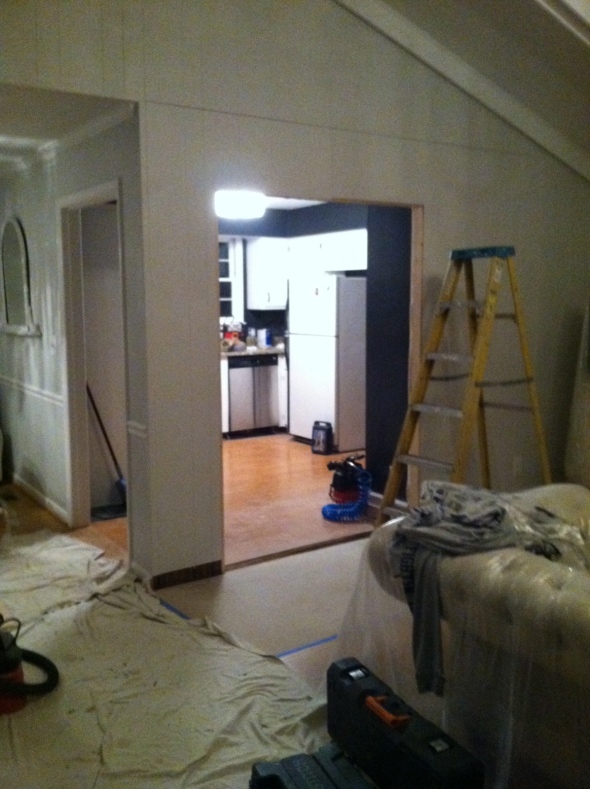
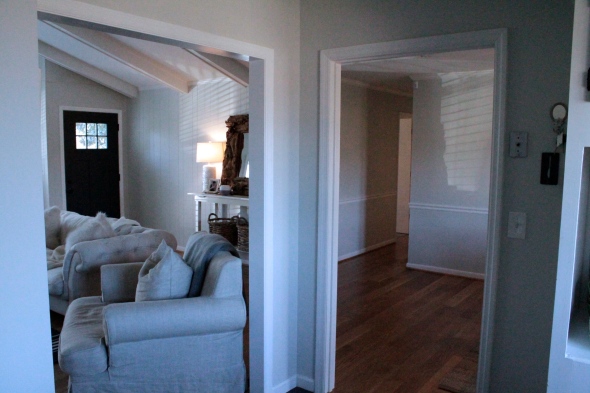
View now standing in the kitchen facing the living room. We can see to the front door now!! Woohoo!!
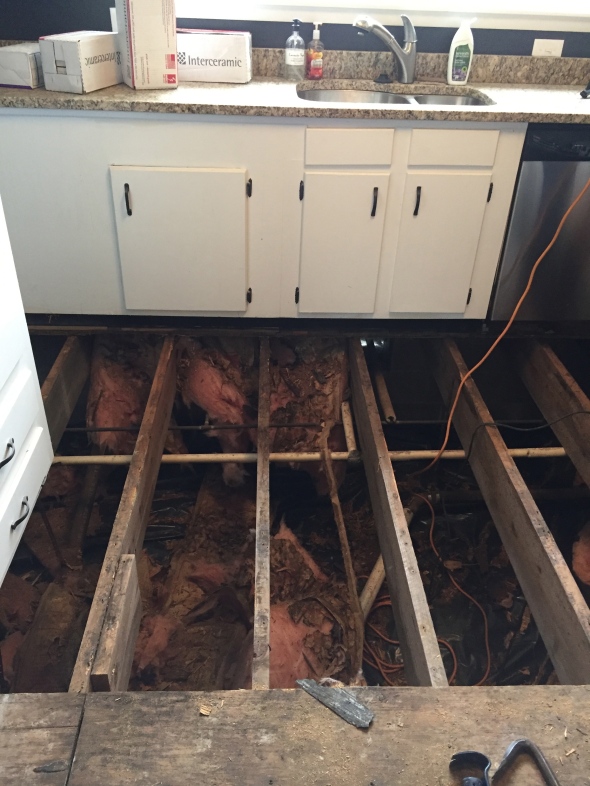
Next step, which proved to be the most stressful, was the flooring. When they pulled up the old floor there was a not-so-pleasant surprise underneath….
Completely rotted/moldy subfloor!!! (this was NOT a fun picture to get)
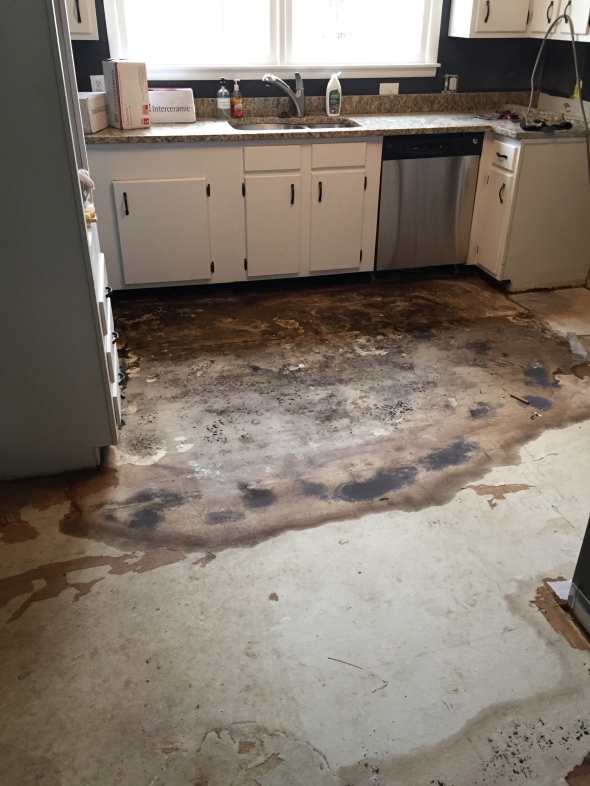
I’m really glad we weren’t there because the contractor said the smell was unbearable! EEK!
So the original plan was to rip out old flooring, apply cement board and lay new tile. Simple right? Well, plans changed when the rotten floor was revealed, so they had to demolish the subfloor all the way down to the joists!! $$$ (the joys of updating an old house)
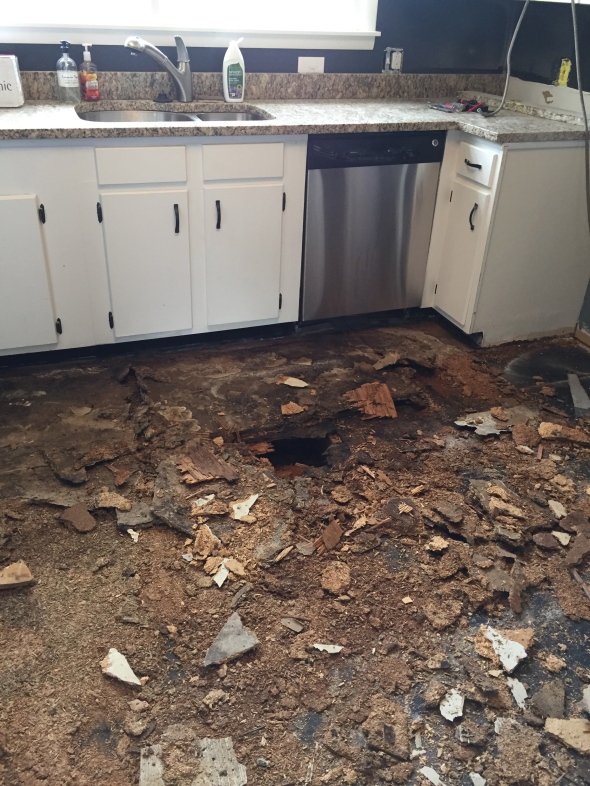
Getting these pictures while being out of town was definitely not fun, but we were just glad to know the mold was gone and a brand new subfloor was going in.
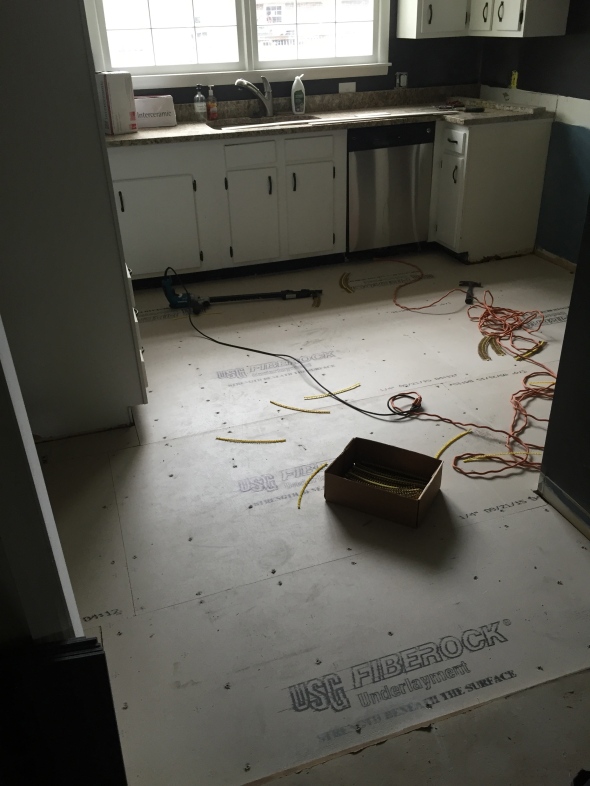
New plywood subfloor was laid and then cement board on top of that. Things were starting to look up 🙂
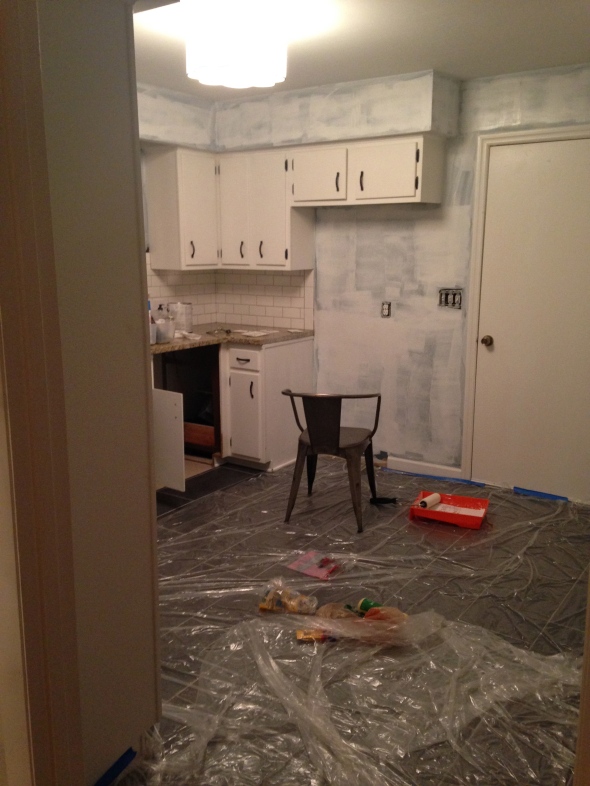
We got home from being gone 2 weeks and the very first thing we did was prime the walls because now that the kitchen was open to the rest of the house we wanted it to look cohesive.
Ready for some pretty photos now??
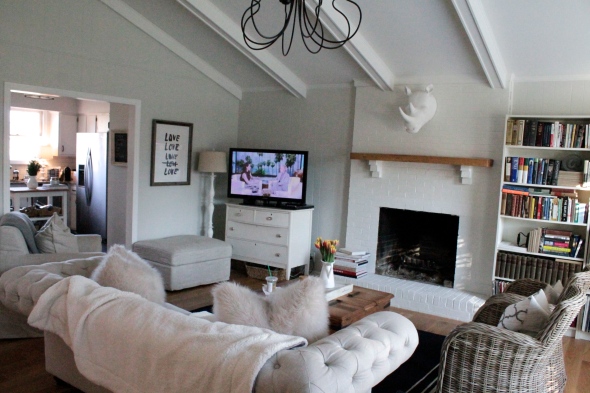
View in living room now!! A million times better!!!
Before:

After:
Before:
After:
Before:
After:
I was so happy to get rid of the laminate orang hued fake hardwoods and replace with these beautiful tile floors!
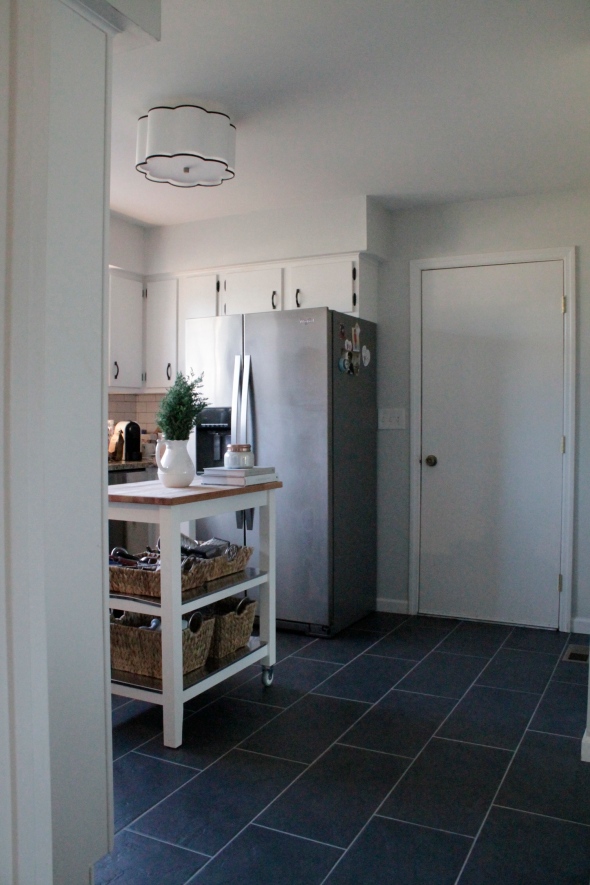
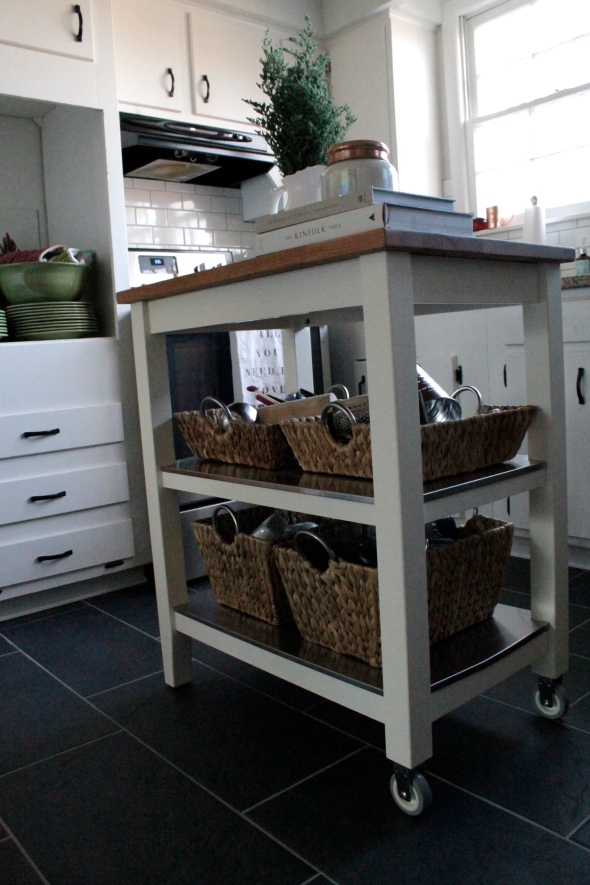
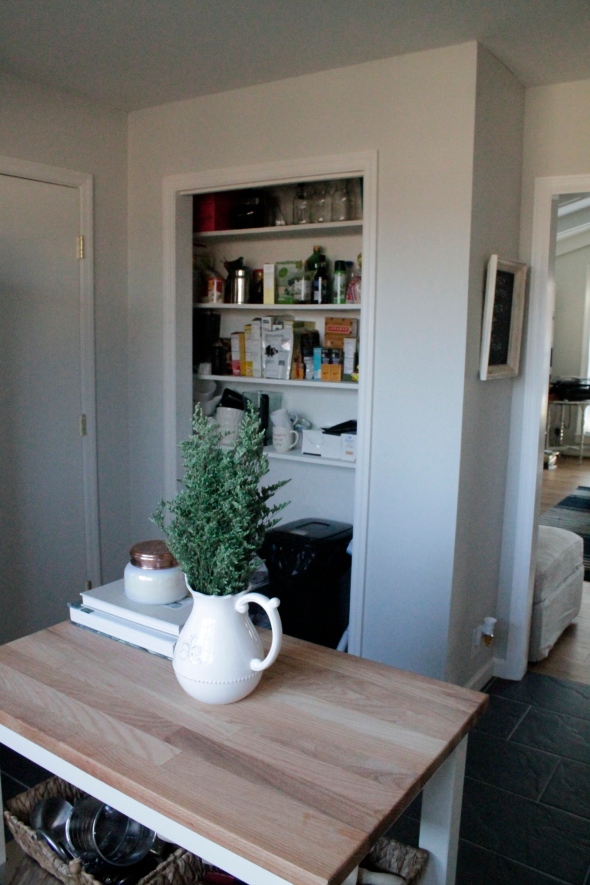
We needed some extra storage/counter space since we lost some when we moved the fridge. This little IKEA cart did just the trick. It’s the perfect size and look for the space!
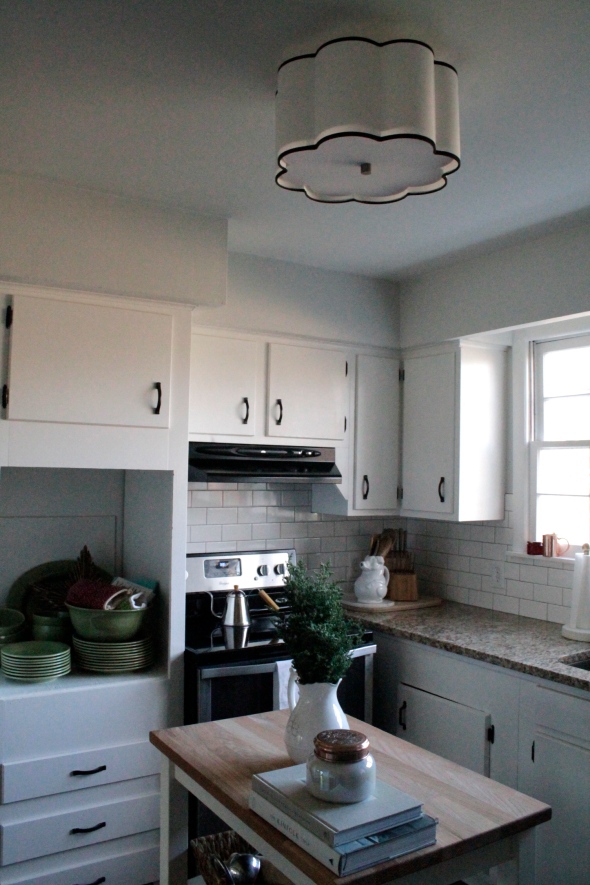
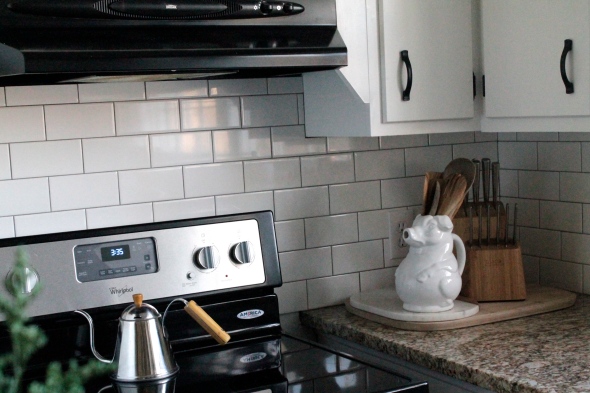
Subway tile will always be a favorite of mine. It’s just classic.
We took off the old bifold pantry door. Still need to get a cute curtain or something to hang, but for now it’s open and I don’t mind it 🙂
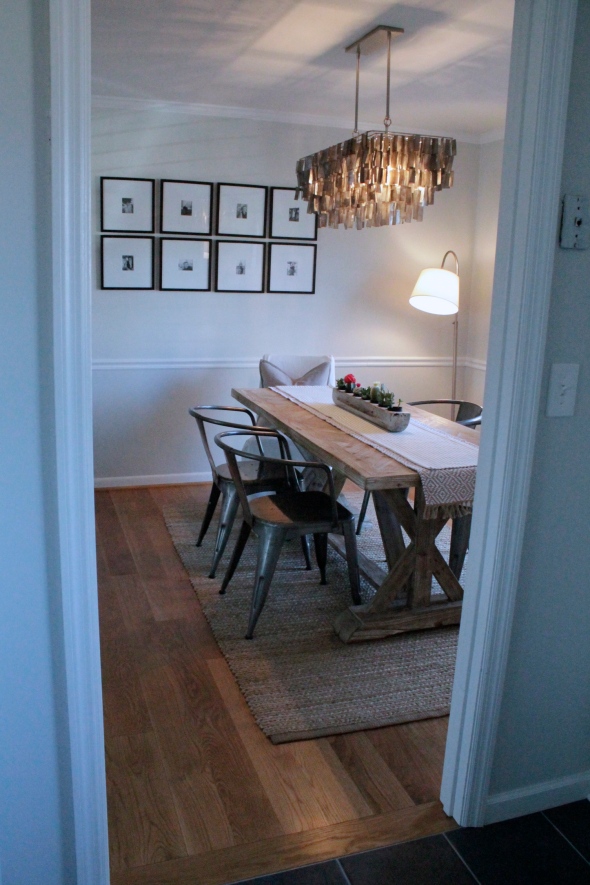
View from kitchen to dining area.
We are so happy with how everything turned out! It’s like that wall was always supposed to not be there! 😉
Our next project is our garage that’s not used as a garage anymore. I will be sharing that process as it happens!
Thanks for stopping by!
xoxo,
O
